17 Stunning Wall Art Hacks That Instantly Upgrade Your Home
Blank walls can make any room feel empty and unfinished. These practical wall art ideas help you fill those spaces with personality using items you already own or can pick up cheaply. Each option shows real ways to create visual interest on a budget with simple steps anyone can follow at home.
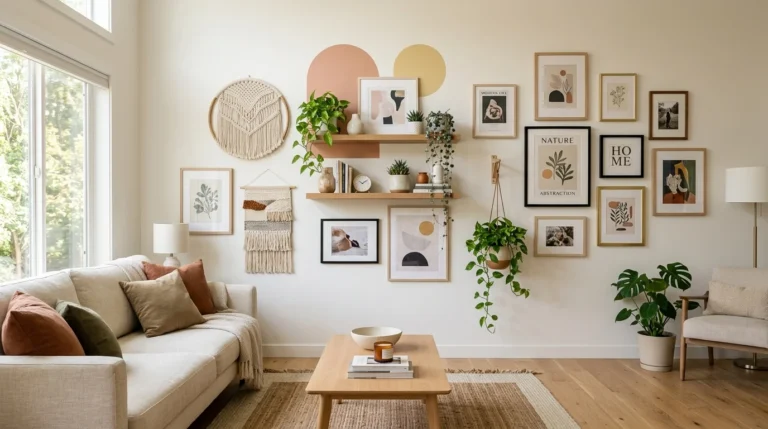
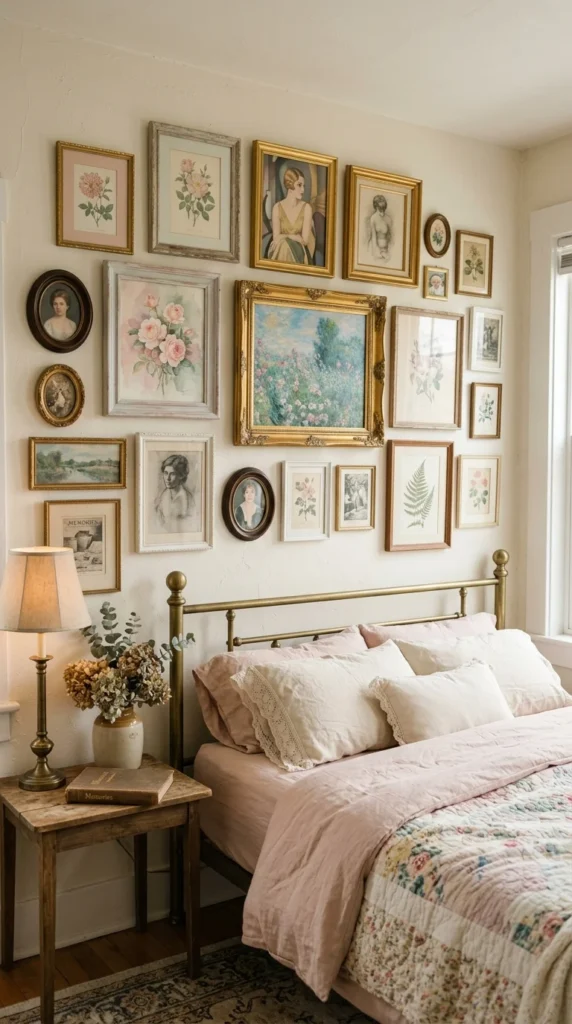
1. Mix and Match Frame Gallery
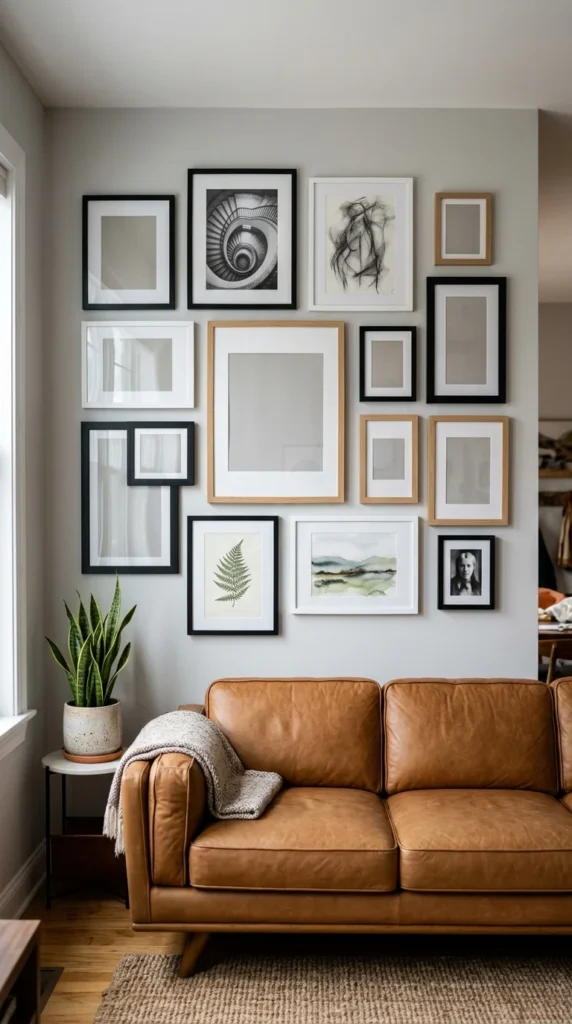
Start by collecting frames from home or thrift stores. Pick various sizes and colors. Lay them on the floor first to test layouts. Measure your wall space and mark spots lightly with pencil.
Use command strips for easy hanging without wall damage. Mix family photos with blank frames or simple prints. Keep spacing even around two inches between frames.
This setup works well above sofas or in hallways. Swap items inside frames whenever you want a change. Total cost stays low if you reuse what you have.
2. Washi Tape Geometric Patterns
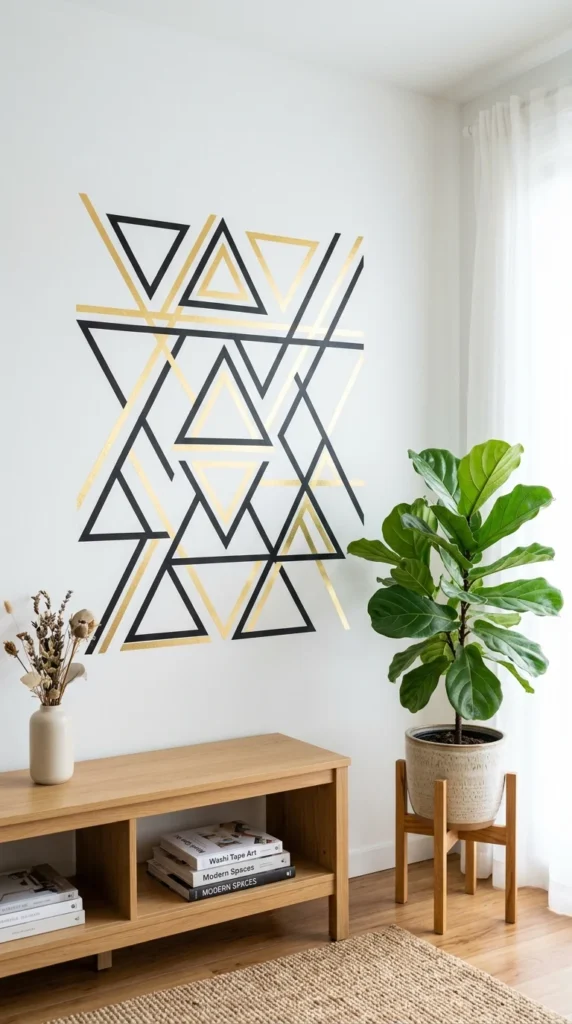
Grab rolls of washi tape in colors that match your room. Plan simple shapes like triangles or hexagons on paper first.
Apply tape directly to the wall starting from the top. Press firmly along edges. Create a large shape or repeat smaller ones across the wall.
Peel off easily when you move or want new designs. Combine two or three tape colors for more depth. This takes under an hour and costs less than ten dollars.
3. DIY Painted Canvas Art
Buy plain canvases from discount stores. Use acrylic paints and basic brushes. Try simple stripes or color blocks if you feel unsure about drawing.
Work on a protected surface. Let each layer dry before adding more. Hang with sawtooth hooks on the back.
Make several small pieces instead of one large one for flexibility. Experiment with leftover house paint too. This project takes an afternoon and gives unique results.
4. Strategic Mirror Placement
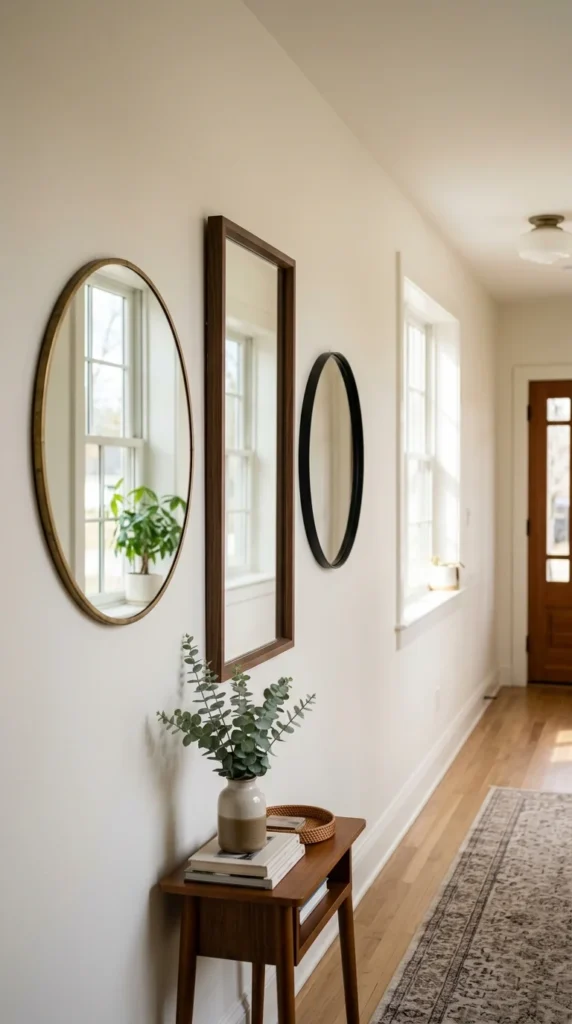
Select mirrors in different shapes from budget stores. Position them to catch light from windows or lamps.
Group three or five together rather than scattering randomly. Keep them at eye level for best effect.
Clean surfaces well before hanging. This trick makes small rooms appear larger and brighter. Mix framed and frameless styles for added interest.
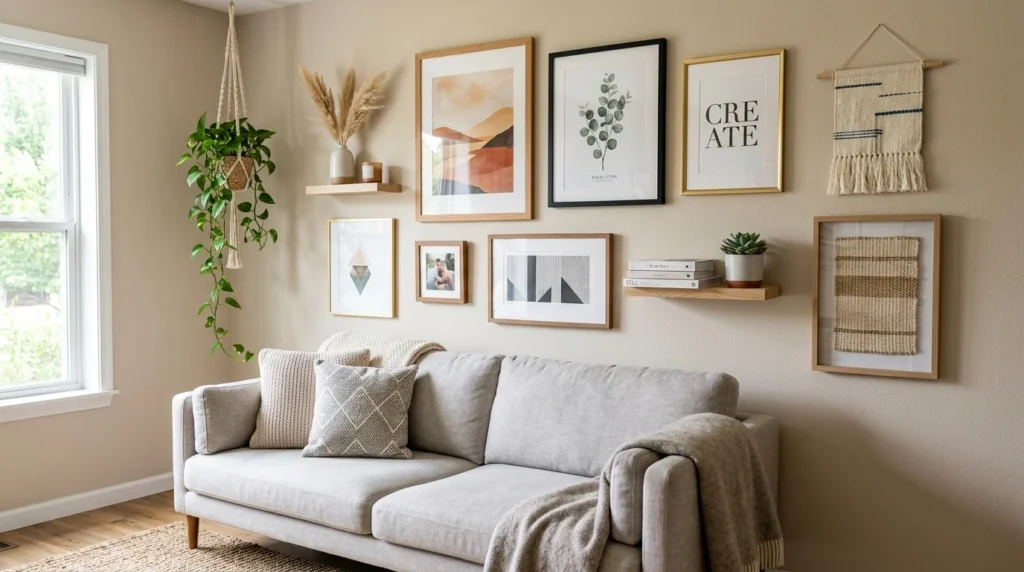
5. Floating Shelves for Display
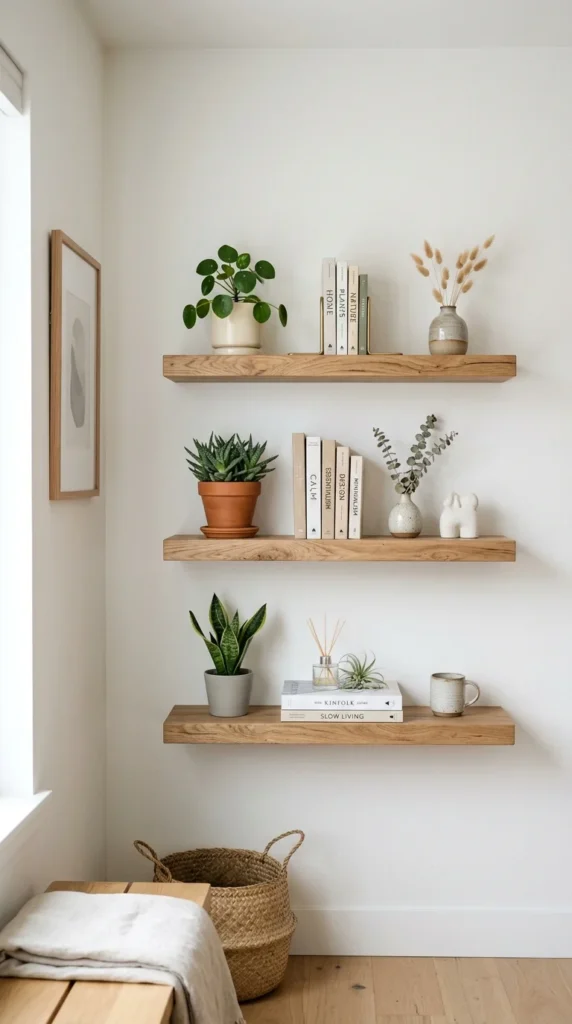
Install simple wooden floating shelves using basic brackets. Space them unevenly for visual flow.
Place light items like small plants, candles or books on them. Change displays monthly to keep things fresh.
Paint shelves to match your wall color or leave natural wood. This creates functional art that holds everyday objects.
6. Handmade Macrame Wall Piece
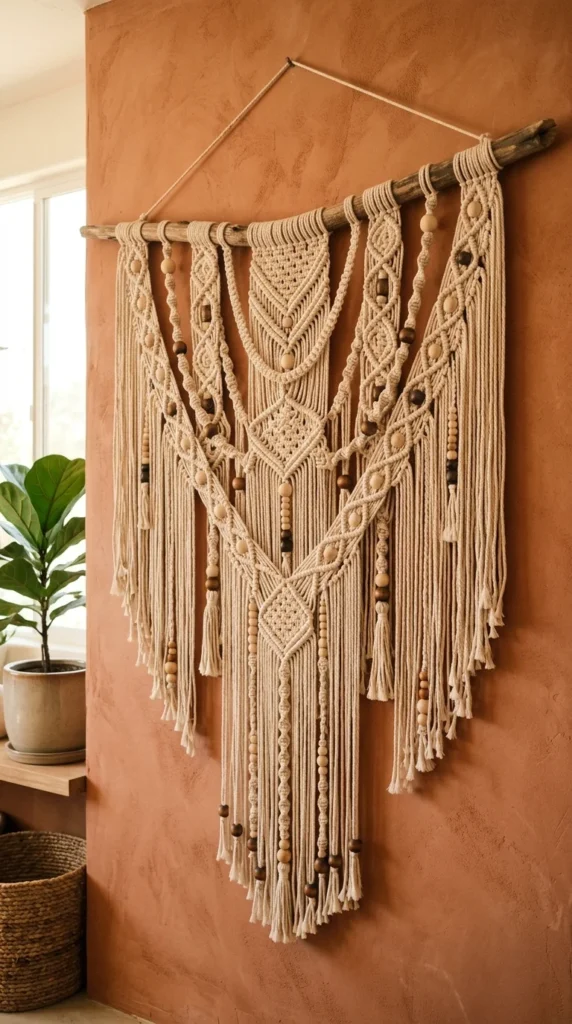
Buy cotton cord and a dowel rod. Follow basic knot patterns like square knots.
Start with a simple design of ten rows. Add wooden beads for texture. Hang from a curtain rod or hook.
Make smaller versions for different rooms. This craft takes a weekend but lasts years. Use old t-shirts cut into strips as alternative material.
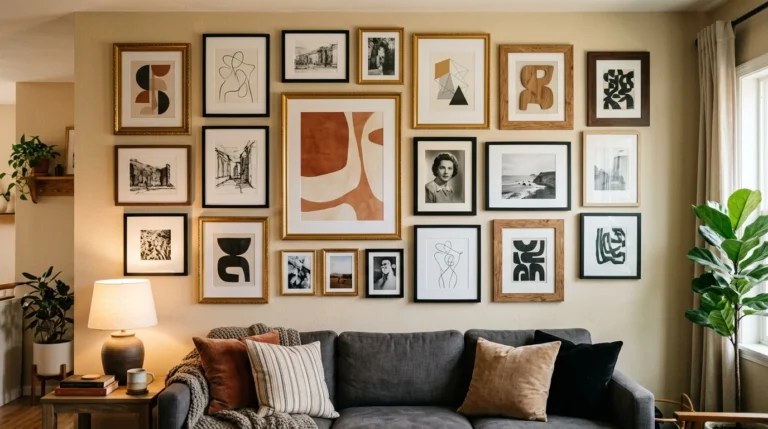
7. Curated Thrifted Artwork
Visit thrift stores weekly to build a collection. Look for frames with good bones even if art inside does not fit.
Paint over old art or keep as found. Arrange in a loose grid.
Focus on similar color tones across pieces. This approach fills walls quickly while keeping costs under twenty dollars.
8. Fabric Tapestry Hangings
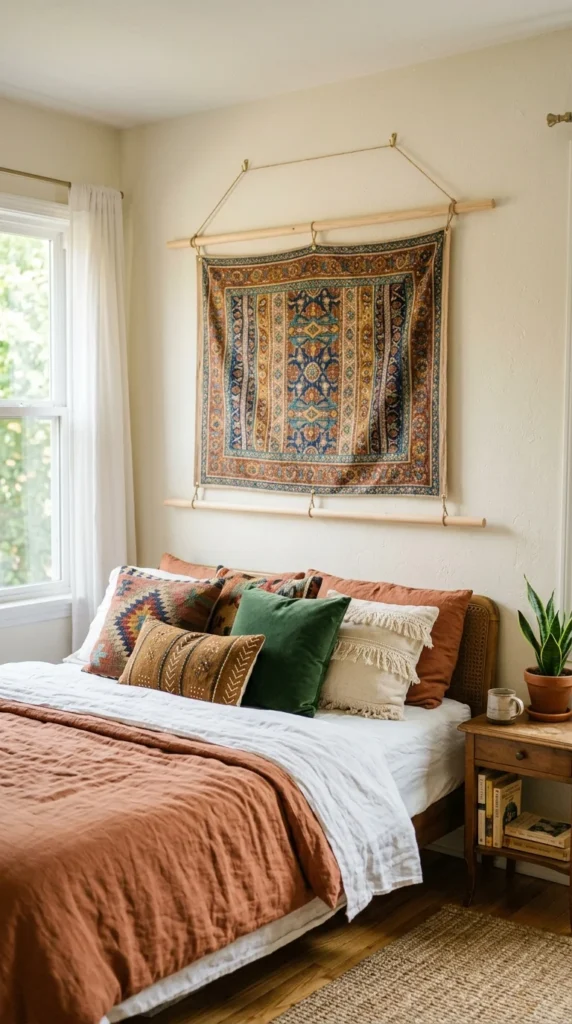
Choose scarves, tablecloths or remnant fabric. Hem edges if needed.
Attach to dowels with fabric glue or stitching. Hang with simple nails.
Layer two fabrics for dimension. Rotate seasonal patterns. This method adds softness and color without permanent changes.
9. Personal Photo String Display
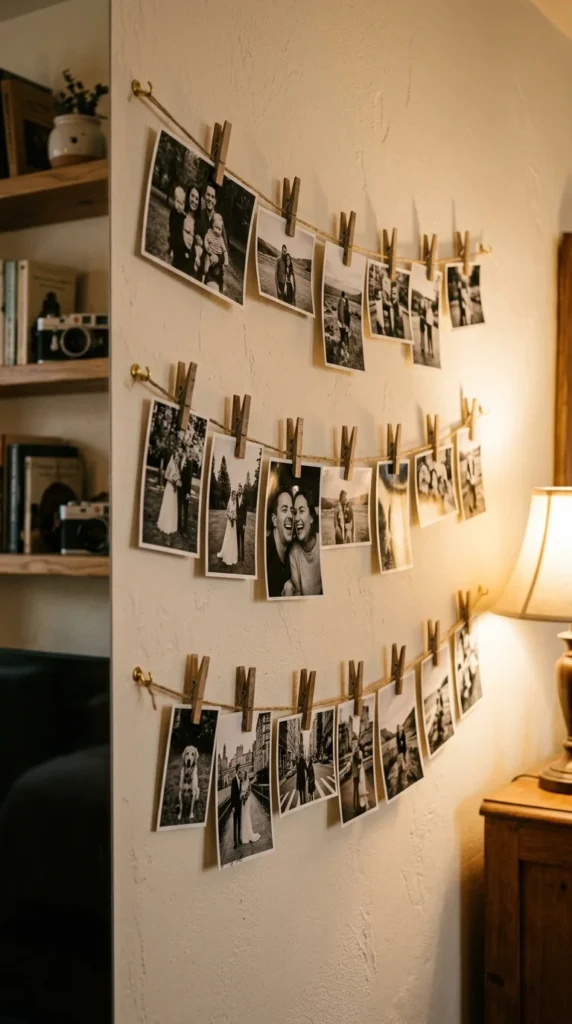
Stretch thin wire or string between two hooks. Use small clips to hold printed photos.
Print images at home or local shop. Vary photo sizes.
Adjust clips easily to update memories. Place near desks or reading nooks. This creates an interactive display.
10. Peel-and-Stick Mural Sections
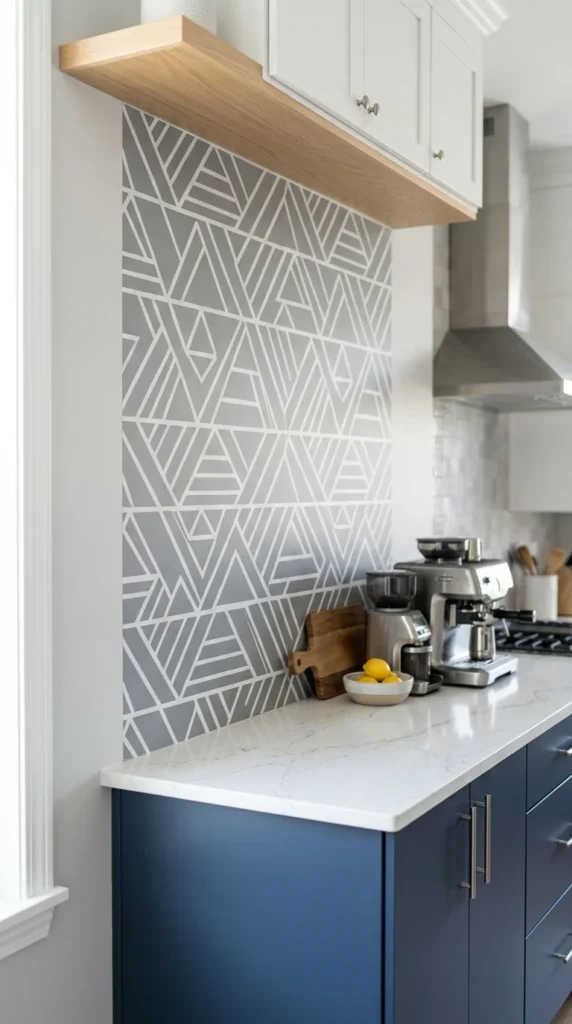
Cut peel-and-stick wallpaper into smaller panels. Apply to one wall section only.
Smooth out bubbles as you go. Combine patterns if desired.
Remove without residue when ready for change. Perfect for renters. Focus on one accent area.
11. Nail and String Geometric Designs
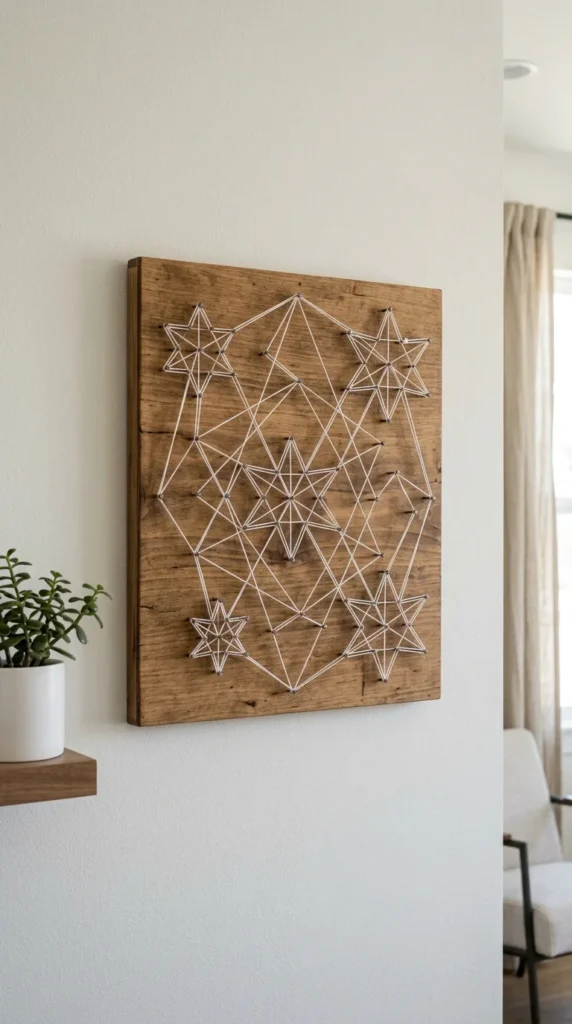
Hammer small nails into a painted board following a printed template.
Wrap string or embroidery floss around nails in sequence.
Choose simple shapes like hearts or zigzags. Mount the finished board.
This creates dimensional art with minimal supplies from hardware stores.
12. Repurposed Old Door as Art
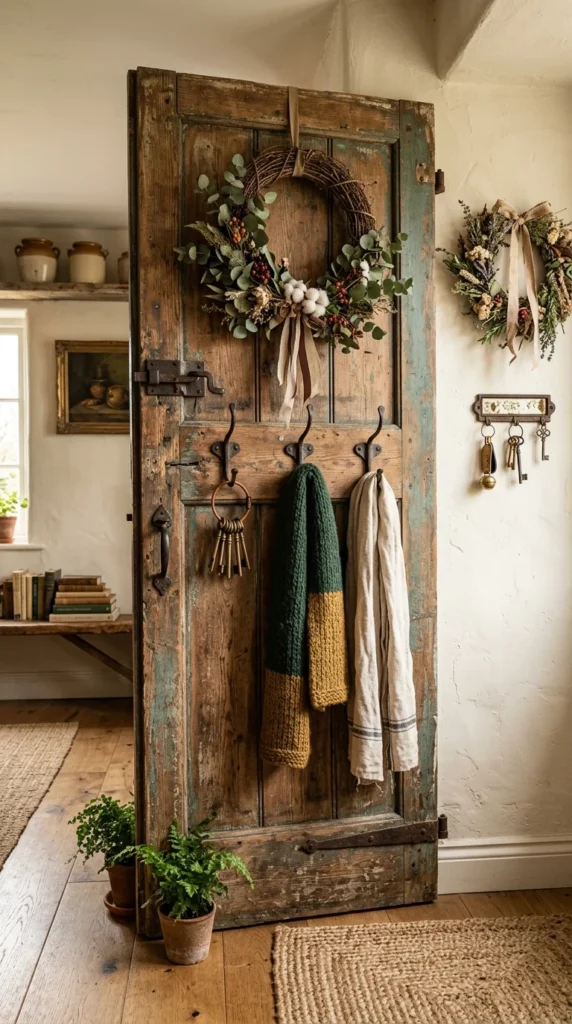
Find an old door at salvage yards. Lean it against the wall or mount securely.
Add hooks for jewelry or keys. Paint sections in different colors.
Use as a message board with chalk paint. This large piece makes a strong focal point.
13. Backlit Picture Frames
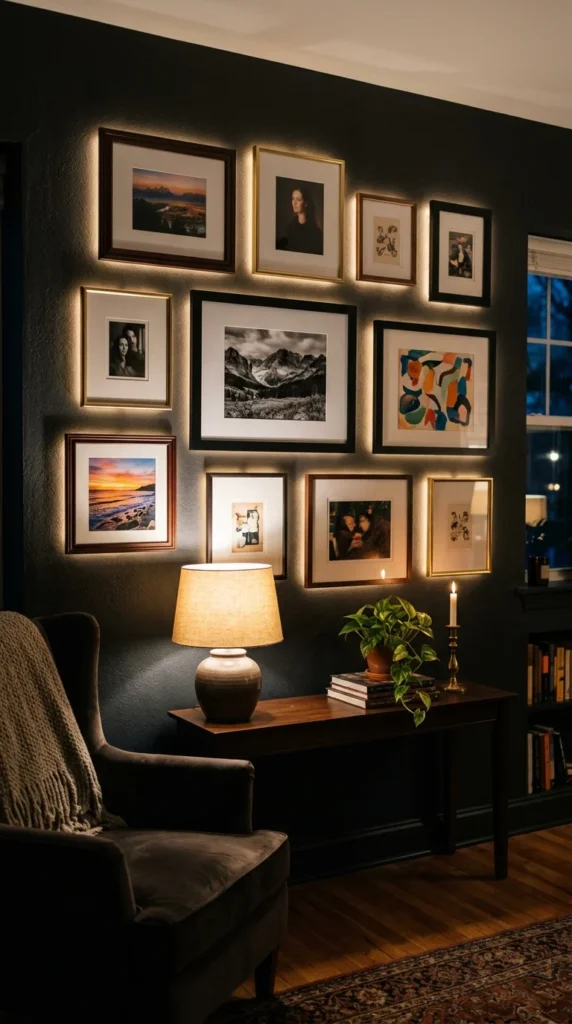
Place thin LED strips behind regular frames.
Use battery powered lights for easy setup.
Space frames slightly from wall.
This adds depth during evening hours. Keep lights on low settings.
14. Pressed Flower Wall Art
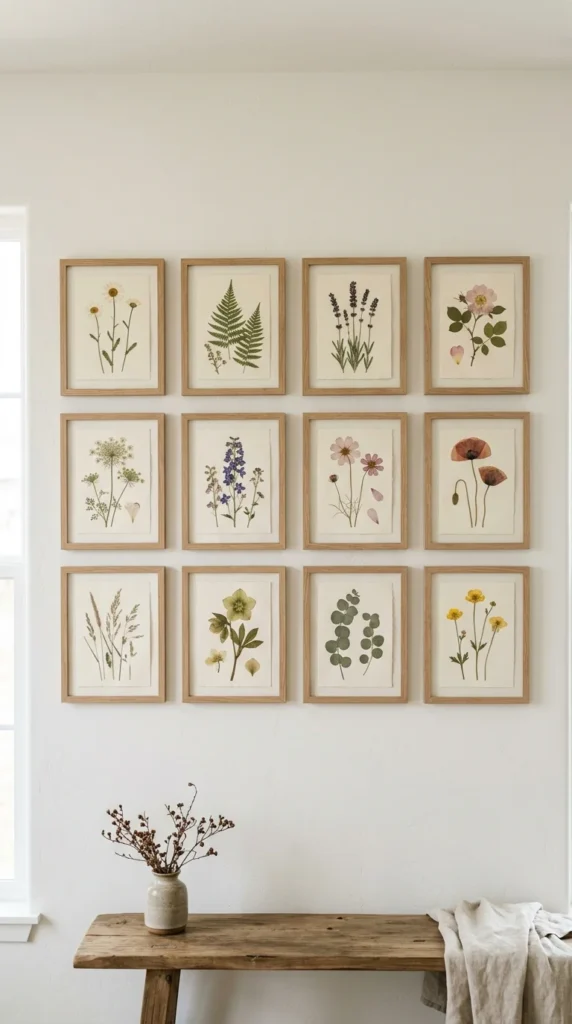
Collect flowers and leaves during walks. Press between books for two weeks.
Arrange in simple frames. Group by color families.
This brings nature indoors affordably. Replace when colors fade.
15. Custom Silhouette Portraits
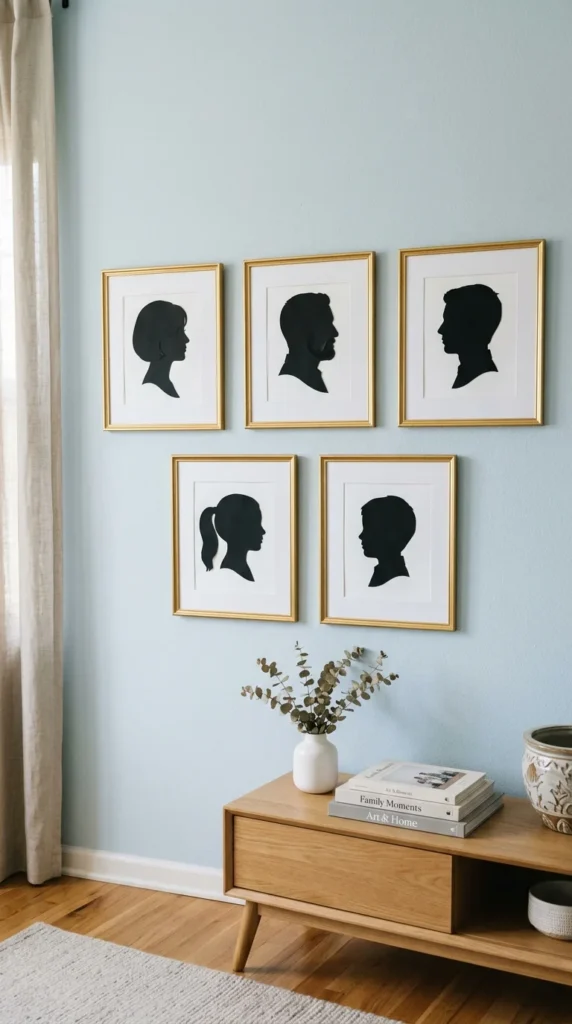
Take profile photos against white background. Trace outlines on black paper.
Cut carefully with scissors. Mount in basic frames.
Add names below in simple script if desired. Create for each family member.
16. Layered Paper Cutouts
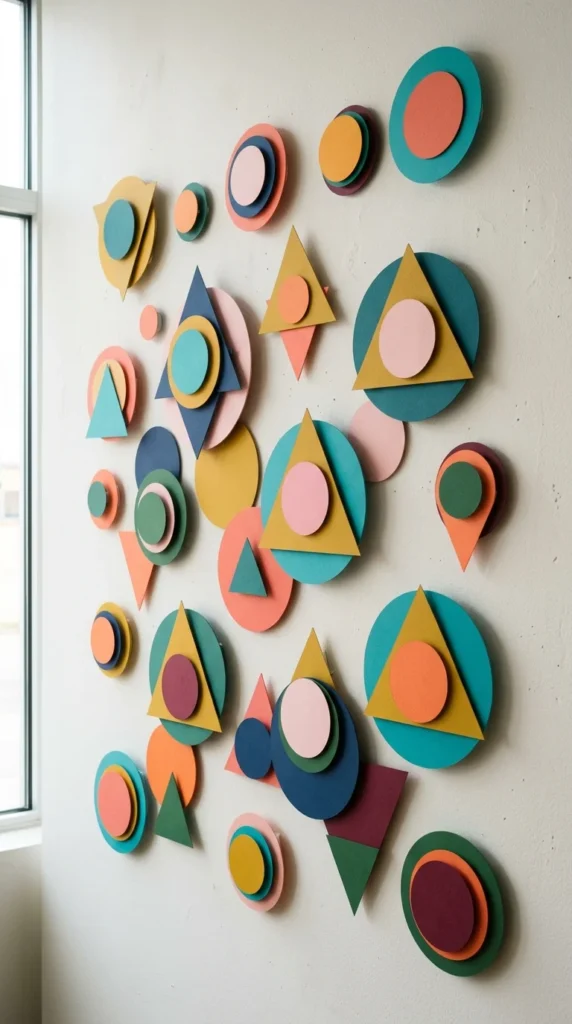
Cut shapes from colored cardstock. Layer them with small foam dots for dimension.
Arrange in clusters. Use double sided tape.
Mix sizes and colors. This lightweight option works great for kids rooms.
17. Vintage Map Wall Display
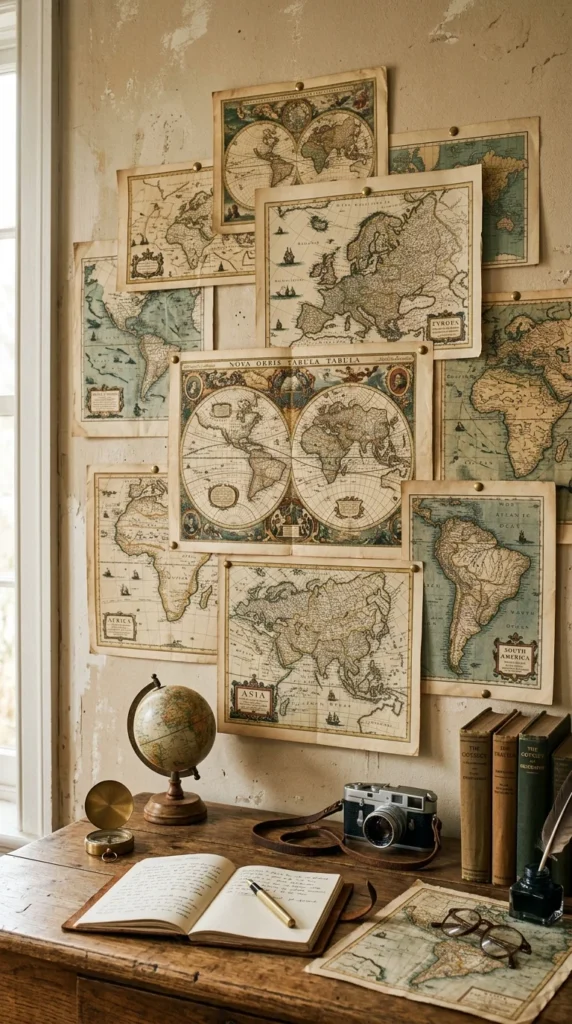
Print free map images or use old atlases.
Pin or tape edges for casual look.
Focus on places with meaning.
Rotate maps seasonally. This adds educational interest to any space.
These wall art approaches give you many options to try right away with supplies already around the house or easy to find locally. Pick one or two ideas, gather materials, and spend a few hours transforming your space. Small changes on walls create noticeable differences in how rooms feel. Start with the wall you see most often and build from there.